
DFM Checklist:
Design a Gasket That Meets Your Unique Needs
If you’re designing a custom gasket for your application, an unfamiliarity with how the part is manufactured can lead to downstream problems when the part reaches the mass production phase. A gasket that doesn’t align well with common manufacturing processes can lead to wasted time, extra costs, and lots of frustration. The good news is that following a few key steps and best practices can dramatically improve your odds of receiving a part that meets and exceeds expectations on the first try.
At Timco, we have decades of experience supplying custom gaskets to a wide variety of customers and for many different applications. Our goal is to put customers in the best position to develop a gasket that can be produced in a way the best aligns to meet the needs of the application and balances the most cost-effective method of mass production. This guide will walk you through key considerations when designing a gasket so that you can avoid headaches and achieve first-run success with your custom gaskets.
Design with Manufacturing in Mind
Upfront preparation and smart design choices set the stage for manufacturing success. The following best practices can help enable a more efficient, trouble-free production run that doesn’t sacrifice part quality.
Start with a clear, detailed drawing
A complete gasket drawing is the foundation of any successful project. Well-prepared drawings give clear instructions for what you need for your parts and create a more collaborative dialogue with your supplier. In turn, your supplier can provide more thorough, tailored guidance early on for your custom gaskets.
Here are a few key details your drawing should include:
- Concise dimensions (with units and tolerances)
- A material designation for your desired base polymer
- 2D views of the part from multiple angles
- Any relevant technical specs or performance requirements
Want to know everything your drawing should include for quick, accurate quotes? Read our Custom Gasket Design Checklist.
Define application requirements
Before manufacturing, be clear about how and where the gasket will be used. For example, you should try to address relevant application questions, including:
- Is the seal static or dynamic (stationary or moving)?
- What are the operating temperatures for the application?
- What chemicals or environmental factors will it face?
- What are the specific load parameters for the application?
Defining these parameters upfront helps in selecting the right material and manufacturing method. The more you communicate about the gasket’s real-world conditions, the better your supplier can work with you in tailoring the design for both immediate manufacturing success and long-term performance.
Plan for practical, efficient manufacturing and minimal waste
A little design forethought can improve material yield and save cost.
- Consider the standard material stock sizes for your gasket. For instance, sheet rubber often comes in common thicknesses. If you can adapt your gasket to fit those sizes, you can potentially avoid more complex manufacturing needs or wasted material needed for non-standard thicknesses or sizes. If not, you may need to consider custom molding to achieve precision manufacturing for non-standard shapes and sizes.
- Is nesting an option? Sometimes when multiple gaskets are being designed for a particular application, parts can be “nested” inside one another to optimize material yields. Put simply, gaskets may be designed in a way where die cutting can produce several parts with one punch of the die.
Leverage prototyping
You don’t necessarily need to invest in expensive hard tooling before testing your initial design. Certain suppliers can help you take advantage of dieless cutting (also called flash cutting) or other table cutting methods to create prototype gaskets without dedicated dies.
This prototyping approach allows you to test your initial design without spending thousands on tooling. For example, Timco can assist customers with the validation of their gasket design through small trial runs which allows for testing and changing designs prior to mass production.

Know Your Gasket Manufacturing Options
Choosing the right production method is crucial for a clean cut or accurate part. Your design can determine which method is best.
Depending on your design, quantity, and material, certain manufacturing methods will be more suitable than others. Here are some common gasket fabrication methods and how they relate to design decisions:
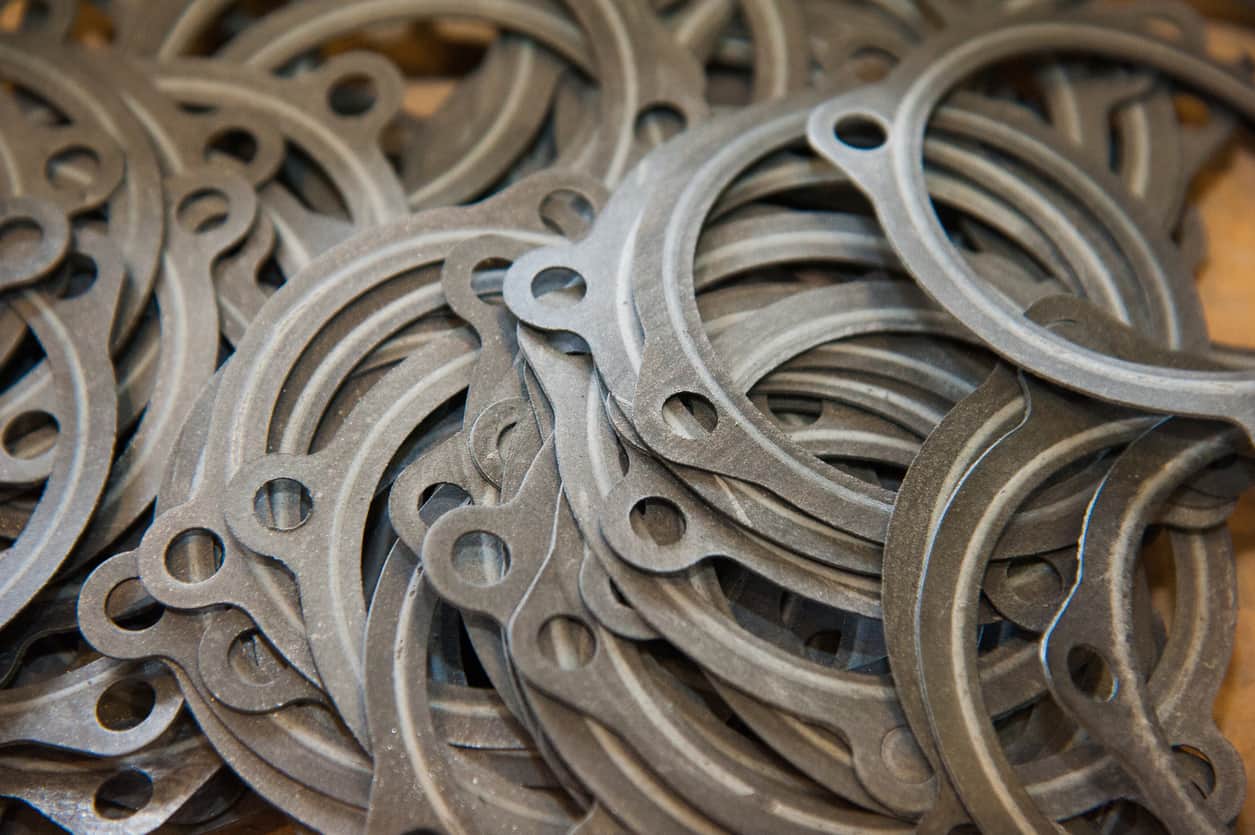
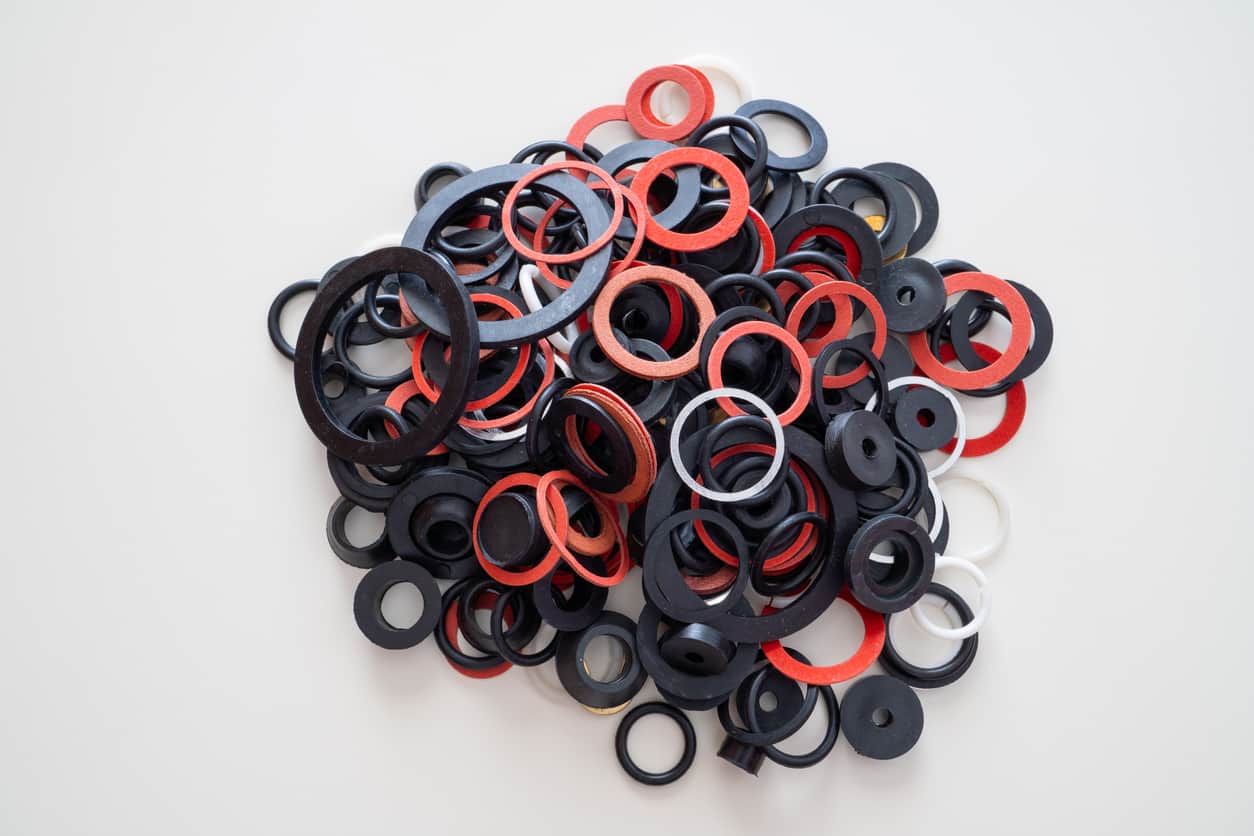
Die Cutting
The go-to method for many flat gaskets. Die cutting uses a custom steel die to stamp out parts from sheet material, like a big, industrial cookie cutter. This approach makes it efficient for a wide range of sizes and shapes. Die cutting is often limited to thickness of up to .5“ and thicker materials can be subject to “dishing” or concavity during the cutting process.
Design tips: Limit gasket thickness to .5” or less and consider standard size thicknesses for your application. More standard sizes (.062”, .125”, .25”, etc.) typically allow better economies of scale due to availability of sheet material.
Kiss Cutting
A specialized form of die cutting used mostly for adhesive-backed gaskets. Kiss cutting is meant to cut through a sheet of material, without cutting through the backing liner. The result is a gasket cut to shape, but the adhesive liner remains intact. The result creates a sort of “sticker” gasket that’s easy to peel and apply.
Design tips: If your gasket has a pressure-sensitive adhesive (PSA) backing, plan for kiss cutting so the production staff can easily peel off the adhesive liner. Consider including a small pull tab or uncut section of the liner in your design. This detail can be easily overlooked, but will make liners much easier to remove when it’s time for assembly.
Rotary Die Cutting
Ideal for high-volume production, rotary die cutting uses a cylindrical die on a rotating drum to cut parts at high speed. This method is efficient for continuous rolls of material, rapidly producing large quantities of identical clean-cut parts.
Design tips: Rotary die cutting can handle intricate shapes at volume, but that efficiency comes with some notable considerations. Try to avoid extremely unique features that could shift out of place at high speed. Your material of choice must also come in roll or coil form instead of flat sheets.
Dieless Cutting (Flash/Knife Cutting)
Various machines can use a CNC-controlled knife, laser, or water jet to cut gasket shapes without a physical die. This dieless method is perfect for prototypes, low volumes, or very large parts that might normally require an expensive die.
Design tips: Because no tooling is needed, you have flexibility to experiment with complex geometries or fine-tune dimensions. This process also gives you flexibility to test your designs when you’re in early development or need just a handful of gaskets to prove out a design.
Lathe Cutting
In lathe cutting, an ID/OD rubber sleeve is forced on to a mandrel. The rubber sleeve is then spun at high speed while a specialized blade slices off cross-sectional rings. This can produce seamless rings with very precisely toleranced diameters and thicknesses.
Design tips: Consider lathe cutting if your gasket construct is a simple ID/OD ring. Small chamfer features can also be added via a lathe cut process. This process is ideal for high volume, tightly toleranced parts.
Molding
Some gaskets are best produced by molding (compression, transfer, or injection molding techniques), especially if they have three-dimensional features, need a non-standard thickness, require rubber-to-metal bonding, or have some other complexity. Molding involves creating custom tooling which often involves the creation of a cavity (or multiple cavities) that are machined to mirror the shape of the part. The tool is also constructed in a way that allows rubber to flow into the cavity and cure to the desired shape.
Design tips: When designing for gaskets which have features that align well to a molding process, be mindful of possible budgetary restrictions related to the upfront tooling cost. Die cut tooling is often significantly more economical than a multi-cavity mold. If some features of the part can be changed to align with a die cut process, there are both economical and lead-time related benefits that could result from simple design changes.
Don’t Overlook Gasket Adhesive Selection
If your gasket needs an adhesive backing, it’s best to factor that adhesive into the design from the start to avoid manufacturing issues later. Adding an adhesive can introduce some design and manufacturing wrinkles that you should account for:
Choose the right adhesive for the surface
There are many types of gasket adhesives (acrylic, rubber-based, heat activated tape systems (HATS), , etc.), each suited to different surfaces and conditions. Each of these can be the right choice depending on your applicating surface.
- What is the surface material (metal, plastic, glass, etc.)?
- Is the surface smooth or textured?
- Will there be surface contaminants (oil, grease, etc.)?
- Is the surface exposed to high or low temperatures?
Addressing these factors will play an important role in identifying an adhesive that will cut and adhere properly. With this information, Timco can present options for different pressure sensitive adhesives tailored to your custom gaskets.
Design for easy liner removal
A common issue with adhesive-backed gaskets is making sure the backing liner can be easily peeled off the final part. If a gasket is cut cleanly all the way around, production staff can struggle with grabbing and pulling on the liner. To avoid this, consider incorporating the following features:
- Kiss cutting can create an extended-release liner that extends from the gasket where the die does not cut through the adhesive layer, creating a little flap for removal.
- Split liners use a scored backing to make it easier for assembly workers to peel liners away in sections.
The exact solution can depend on your gasket design and end use. Discuss these options with your supplier and consider them in your design to help streamline the assembly process and make life easier for end users.
Adjust manufacturing methods base on adhesive
When you review your design with Timco, expect some discussion on adhesive choice. Sometimes a high-strength adhesive is necessary for function, but you may want to consider modifying your part layout or cutting method accordingly. The bottom line is to treat the adhesive as an integral part of the design, not an afterthought, to optimize manufacturing.

Partner with a Collaborative Gasket Supplier
Designing a custom gasket is a team effort. At Timco, our approach is built on early collaboration and communication. We strive to be more than just a vendor; we act as a partner to supply our customers with parts that meet their exact specifications.
Ready to invest in the right gaskets?
Timco is here to turn your designs into quality, cost-effective parts. Contact Timco Rubber at 1-800-969-6242 or request a quote online to submit a drawing for custom gaskets tailored to your unique application.